
Millions of households maintain a digital blood pressure monitor on their nightstand, yet primary care physicians frequently discount patient logs during clinical consultations. The reason is rarely a broken device; rather, clinical studies reveal that up to 70% of consumer blood pressure monitors sold online have never undergone independent clinical accuracy trials, and over 80% of patients introduce severe procedural errors before pressing the start button.
Home Blood Pressure Monitoring (HBPM) is the clinical gold standard for diagnosing white-coat hypertension and titrating medication, provided you select an independently validated instrument and eliminate basic procedural inaccuracies.
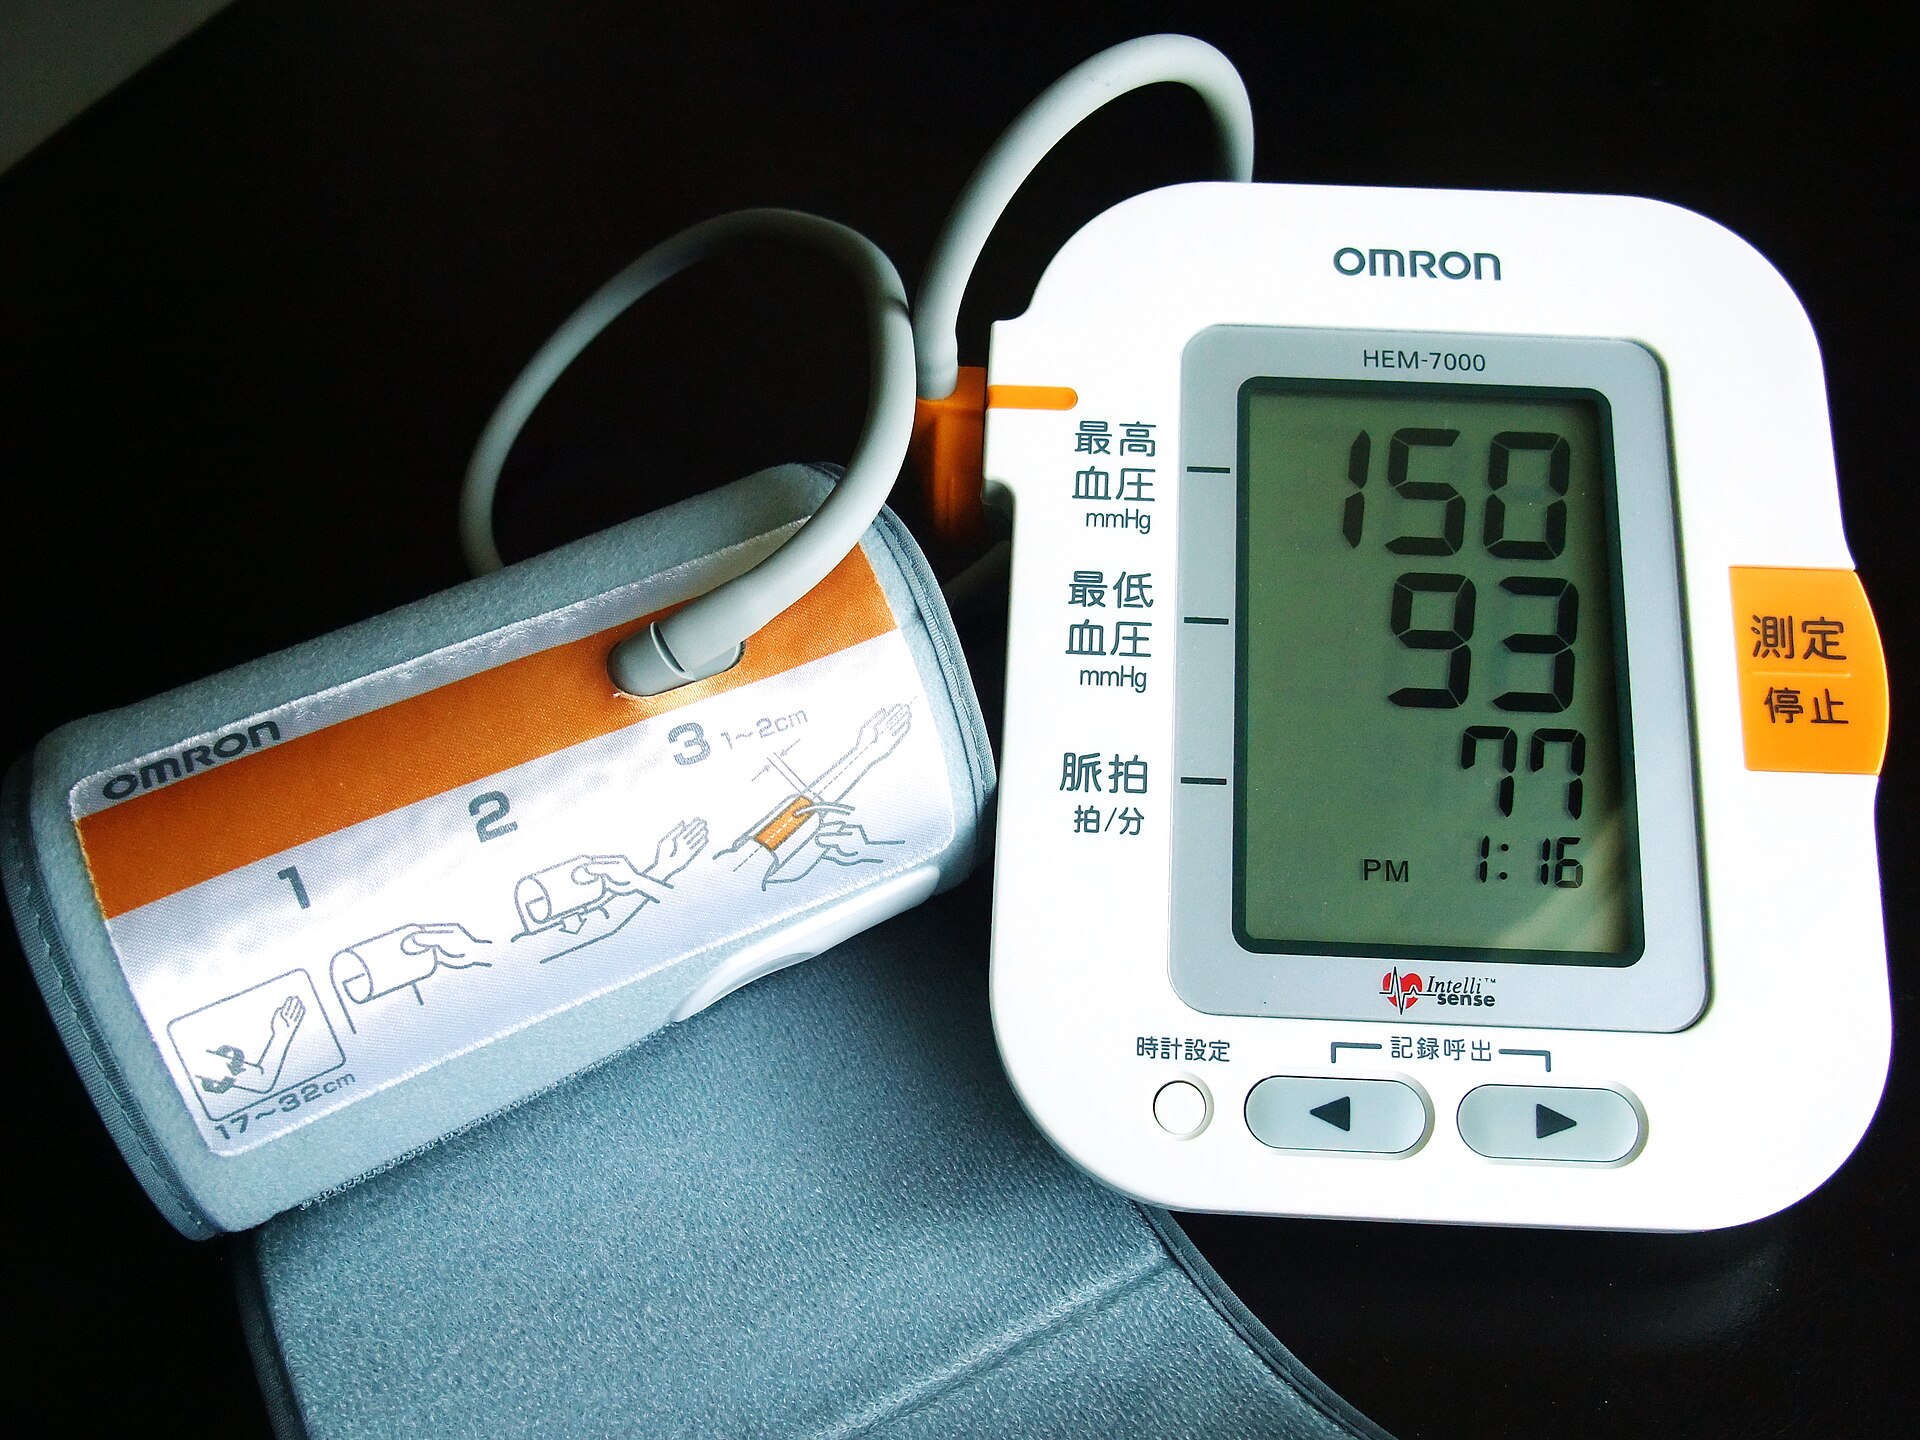
Upper-Arm vs Wrist Monitors: The Anatomical Reality
Wrist monitors remain popular due to compact packaging and ease of application over heavy winter clothing. However, in clinical cardiology, the two form factors are separated by fundamental physiological differences.
| Comparative Dimension | Upper-Arm Oscillometric Monitor | Wrist Blood Pressure Monitor |
|---|---|---|
| Monitored Vessel | Brachial Artery (Large vessel directly aligned with the aortic root and heart level) | Radial Artery (Narrow peripheral vessel prone to vascular stiffening and peripheral vasoconstriction) |
| Cardiology Guideline Status | Class I Gold Standard (American Heart Association, European Society of Hypertension) | Class IIb / Exception Only (Reserved strictly for patients with extreme arm obesity or severe burns) |
| Hydrostatic Elevation Error | Forgiving; resting arm on a typical dining table positions cuff near mid-sternum | Extremely sensitive: Deviating 10 cm below heart level introduces a +7 to +8 mm Hg hydrostatic artifact |
| Vascular Stiffening Tolerance | High signal-to-noise ratio; reliable in elderly and diabetic demographics | Highly erratic in patients with atherosclerosis or peripheral arterial calcification |
Unless a severe physical condition physically prevents fitting an arm cuff, you should unconditionally choose an upper-arm automated oscillometric monitor.
The Three-Point Buying Audit: Clinical Validation and Cuff Geometry
Bypass consumer marketing claims regarding multi-user cloud syncing or LED ambient backlights. Filter prospective purchases through three strict clinical criteria:
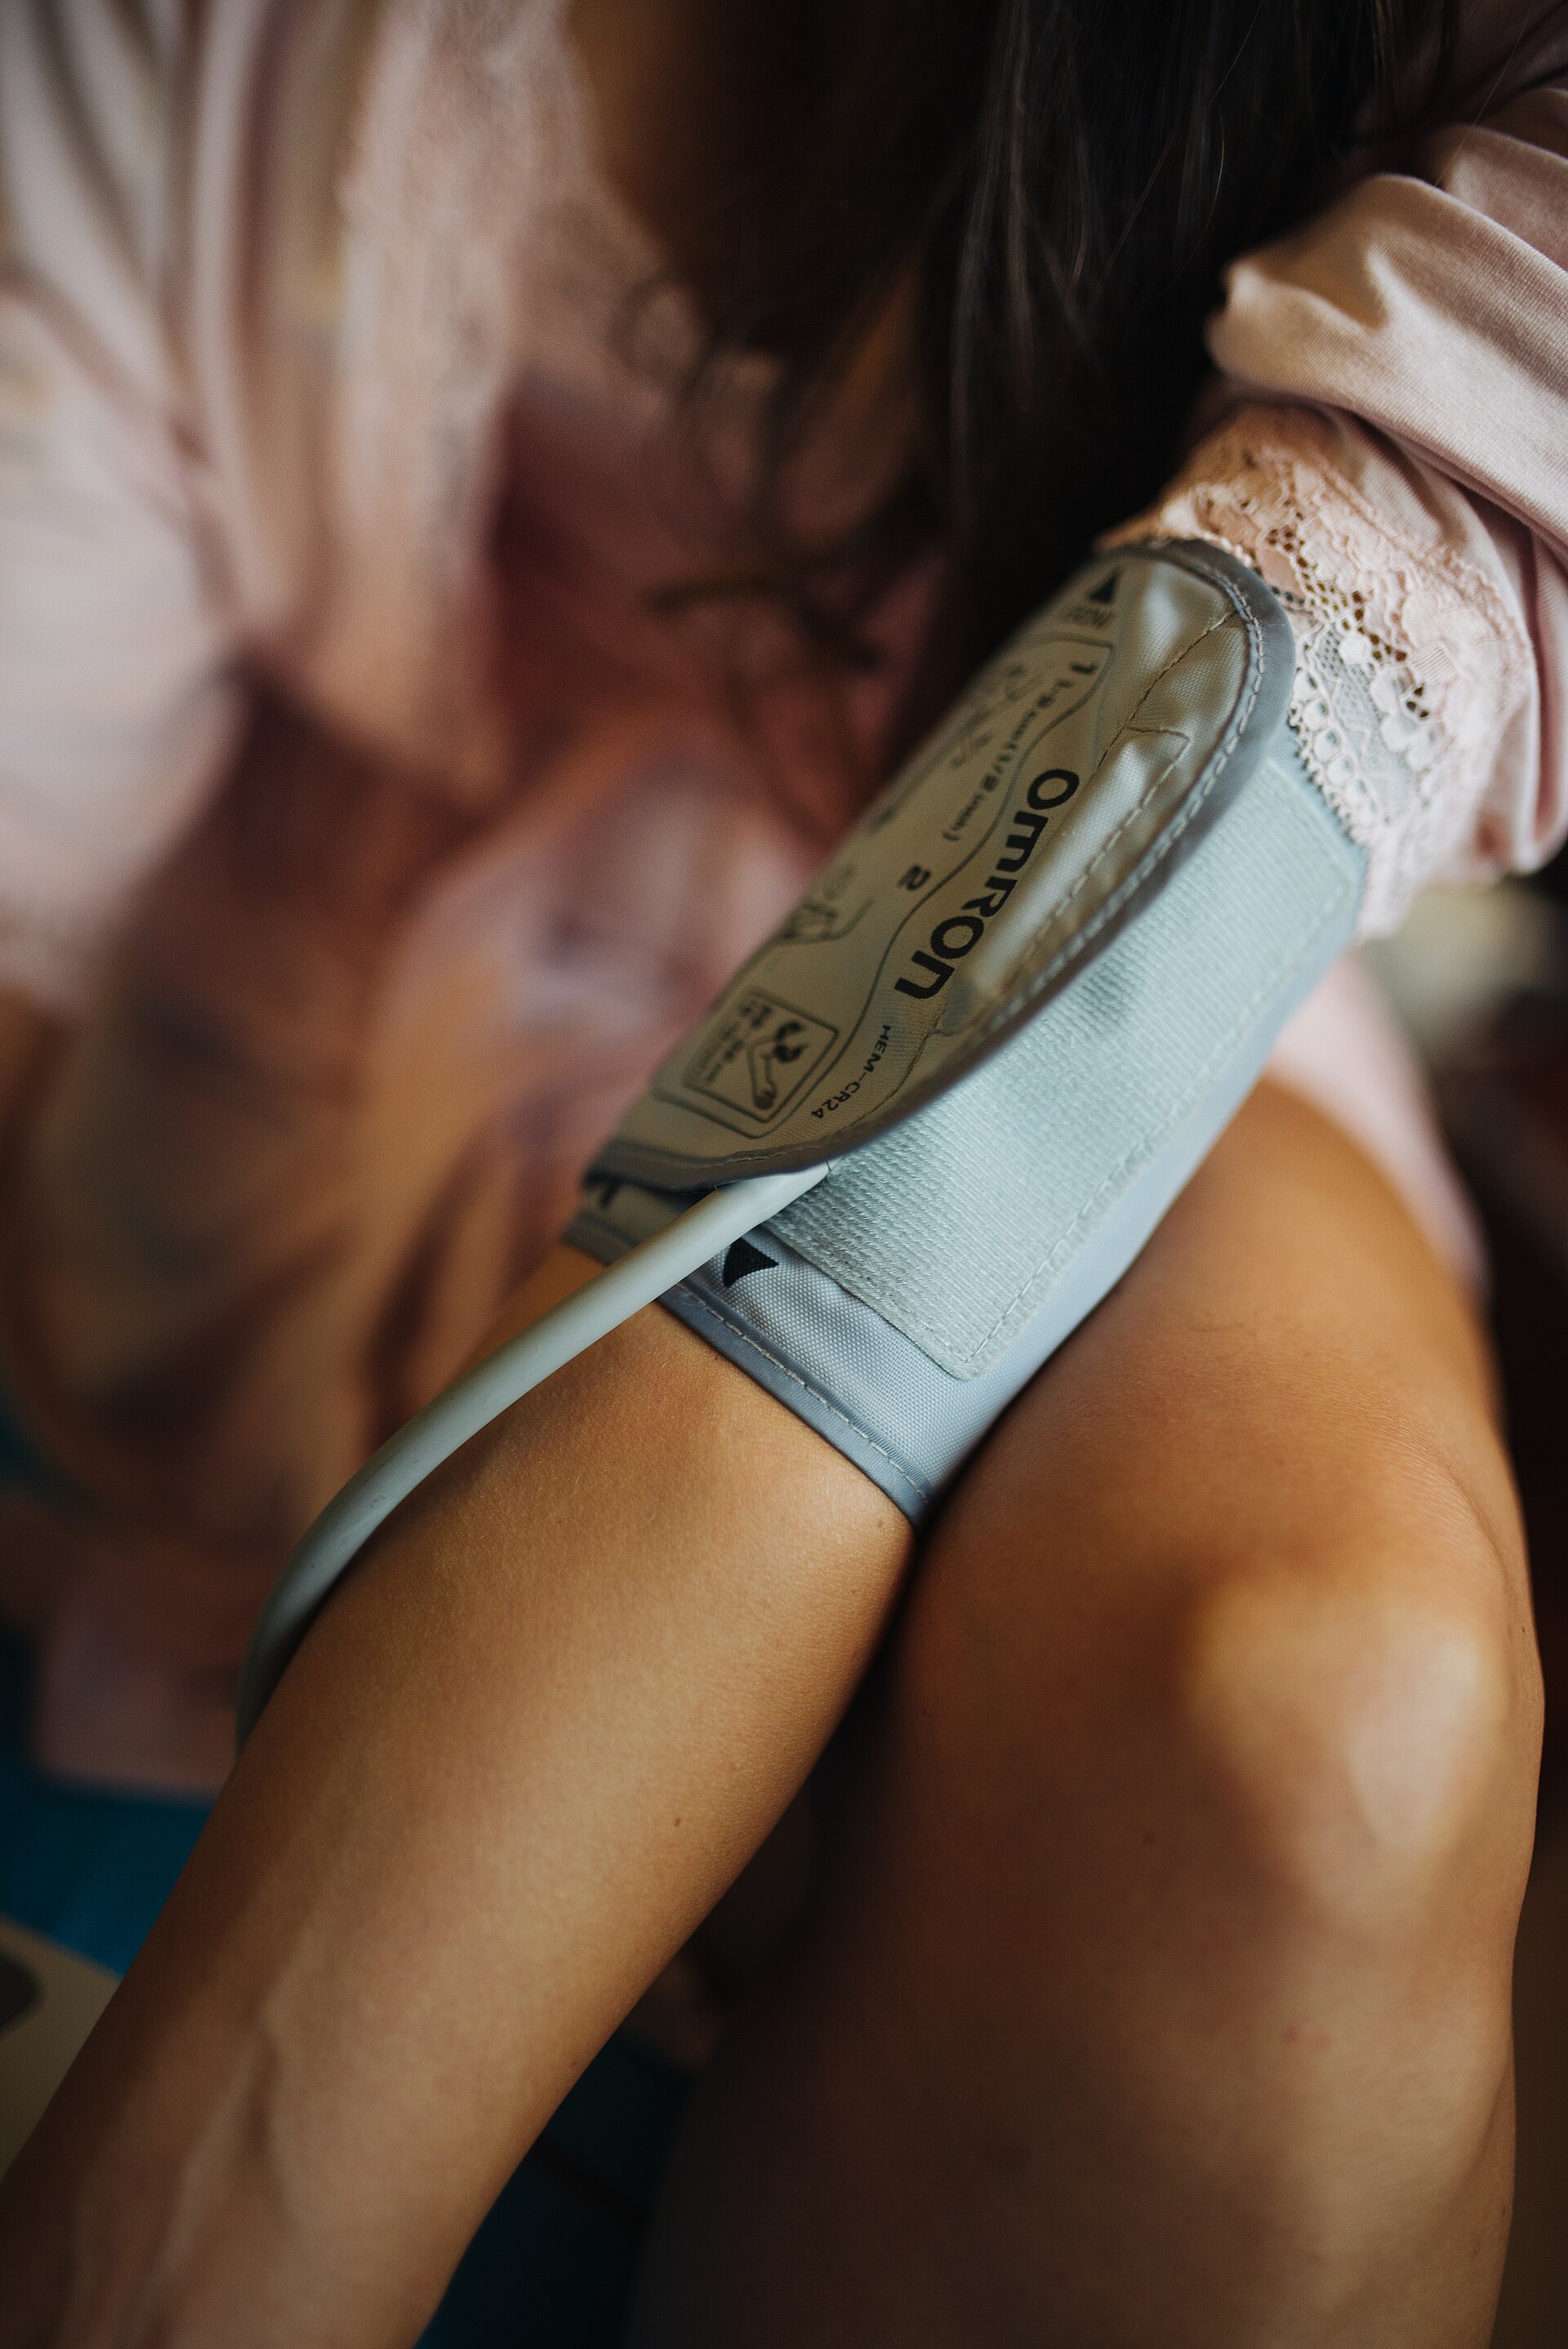
1. Independent Clinical Validation Registry
Never purchase an unvetted white-label device. Legitimate manufacturers subject their algorithms to standardized double-blind clinical trials (ISO 81060-2 standard). Verify the exact model number on independent clearance databases:
- United States: The American Medical Association’s Validated Device List (ValidateBP.org).
- International / Europe: STRIDE BP (stridebp.org) or the British and Irish Hypertension Society (BIHS).
2. Matching Cuff Bladder Dimensions
Using an incorrectly sized cuff is the single most common mechanical error in home monitoring:
- Undersized Cuff (Forcing a standard cuff onto a large arm): The cuff requires excessive inflation pressure to compress the brachial artery, causing an artificial overestimate of 5 to 15 mm Hg.
- Oversized Cuff: Compresses the tissue prematurely, resulting in an artificially low reading.
Measure the midpoint of your bare upper arm (halfway between the bony tip of your shoulder and the elbow):
- Circumference 22 to 32 cm (8.7 to 12.6 inches): Standard Adult Cuff.
- Circumference 32 to 42 cm (12.6 to 16.5 inches): Large Adult / Conical Extended Cuff.
The Seven-Step AHA-Compliant Measurement Protocol
A clinically validated monitor will generate wildly inaccurate numbers if biological and posture variables remain uncontrolled. Follow this strict sequence:
[Step 1] 30 Minutes Prior: Zero nicotine, caffeine, exercise, or hot showers
    ↓
[Step 2] 10 Minutes Prior: Empty your bladder completely (a full bladder adds up to 10-15 mm Hg)
    ↓
[Step 3] 5 Minutes Prior: Sit in a supportive chair with feet flat on the floor; legs uncrossed
    ↓
[Step 4] Bare Arm Setup: Remove restrictive sweaters; never tightly roll up a tight sleeve
    ↓
[Step 5] Position Cuff: Bottom edge 2-3 cm above the elbow crease; sensor index centered over inner artery
    ↓
[Step 6] Arm Support: Rest your forearm on a flat desk so the cuff aligns exactly with your heart level
    ↓
[Step 7] Duplicate Sampling: Press Start and remain completely silent; rest 1 minute and repeat
Record both numbers. If the difference between the first and second reading exceeds 5 mm Hg, take a third measurement after another 60 seconds and calculate the arithmetic average of the second and third readings.
Interpreting Readings: The Home vs Clinic Diagnostic Thresholds
Many individuals panic when their home readings register at 134/84 mm Hg, believing they are in severe crisis, or dismiss 136/88 mm Hg thinking it is "under 140."
| Clinical Metric | Normal Baseline | Hypertension Threshold | Physiological Context |
|---|---|---|---|
| In-Clinic / Office BP | < 120 / 80 mm Hg | ≥ 140 / 90 mm Hg (AHA Stage 1: ≥ 130/80) | Prone to "White-Coat Effect" (sympathetic arousal from clinical setting) |
| Home Self-Monitoring (HBPM) | < 120 / 80 mm Hg | ≥ 135 / 85 mm Hg (AHA HBPM Stage 1: ≥ 130/80) | Measured in a familiar, rested environment; baseline threshold drops 5 mm Hg |
The 7-Day Clinical Log Protocol
When initiating new antihypertensive therapy, assessing dosage efficacy, or establishing a baseline diagnosis:
- Timing: Take duplicate readings twice daily, once in the morning (after voiding, before breakfast and morning pills) and once in the evening (before bed).
- The 7-Day Sequence: Maintain this schedule for 7 consecutive calendar days without omission.
- The Clinical Audit: When presenting data to your physician, discard all readings from Day 1 (which frequently reflect transient adaptation anxiety). Calculate the composite arithmetic average across days 2 through 7. This single metric provides superior predictive value for cardiovascular risk compared to any isolated in-office reading.